Camera

Since the arduino can’t sent any video to the surface, the search for a camera let me everywhere. At first I thought about a IP-webcam, but being expensive and rather big this wasn’t a real option for me (the camera needed to be small and cheap) my search let me to a car camera and a pair of video baluns.

I found a cheap car camera (front bumper so I wouldn’t have to mirror the image) and a set of video baluns, all under 10 euro. the camera is just onder a inch by a inch, has 4 LED’s, so for the time being I’m not adding any aditional lights. It has a 12v DC input and with it’s low power consumption im connecting it directly to the ROV’s battery.

I’ve connected and tested the camera and I’m happy with it, the image is a bit granular, but for under 10 euro’s I can’t complain ;-).

This is the image from the camera, with it’s 4 LED’s and connected via a video balun directly to the 40″ monitor

Camera image

I’ve placed the camera on the inside frame of the ROV, you can see the lens and the 4 LED’s around it

Camera front

And here you see the camera’s video ouput being connected to the video balun. The video balun only uses one pair of wires from the network cable, so leaving 3 pairs for the communication between the arduino and my macbook. (since the arduino only can handle 100mbit, 3 pairs of wires are more then enough)

video balun

Sourcode

#include <SPI.h>
#include <Ethernet.h>
#include <Servo.h>
int led = 4;

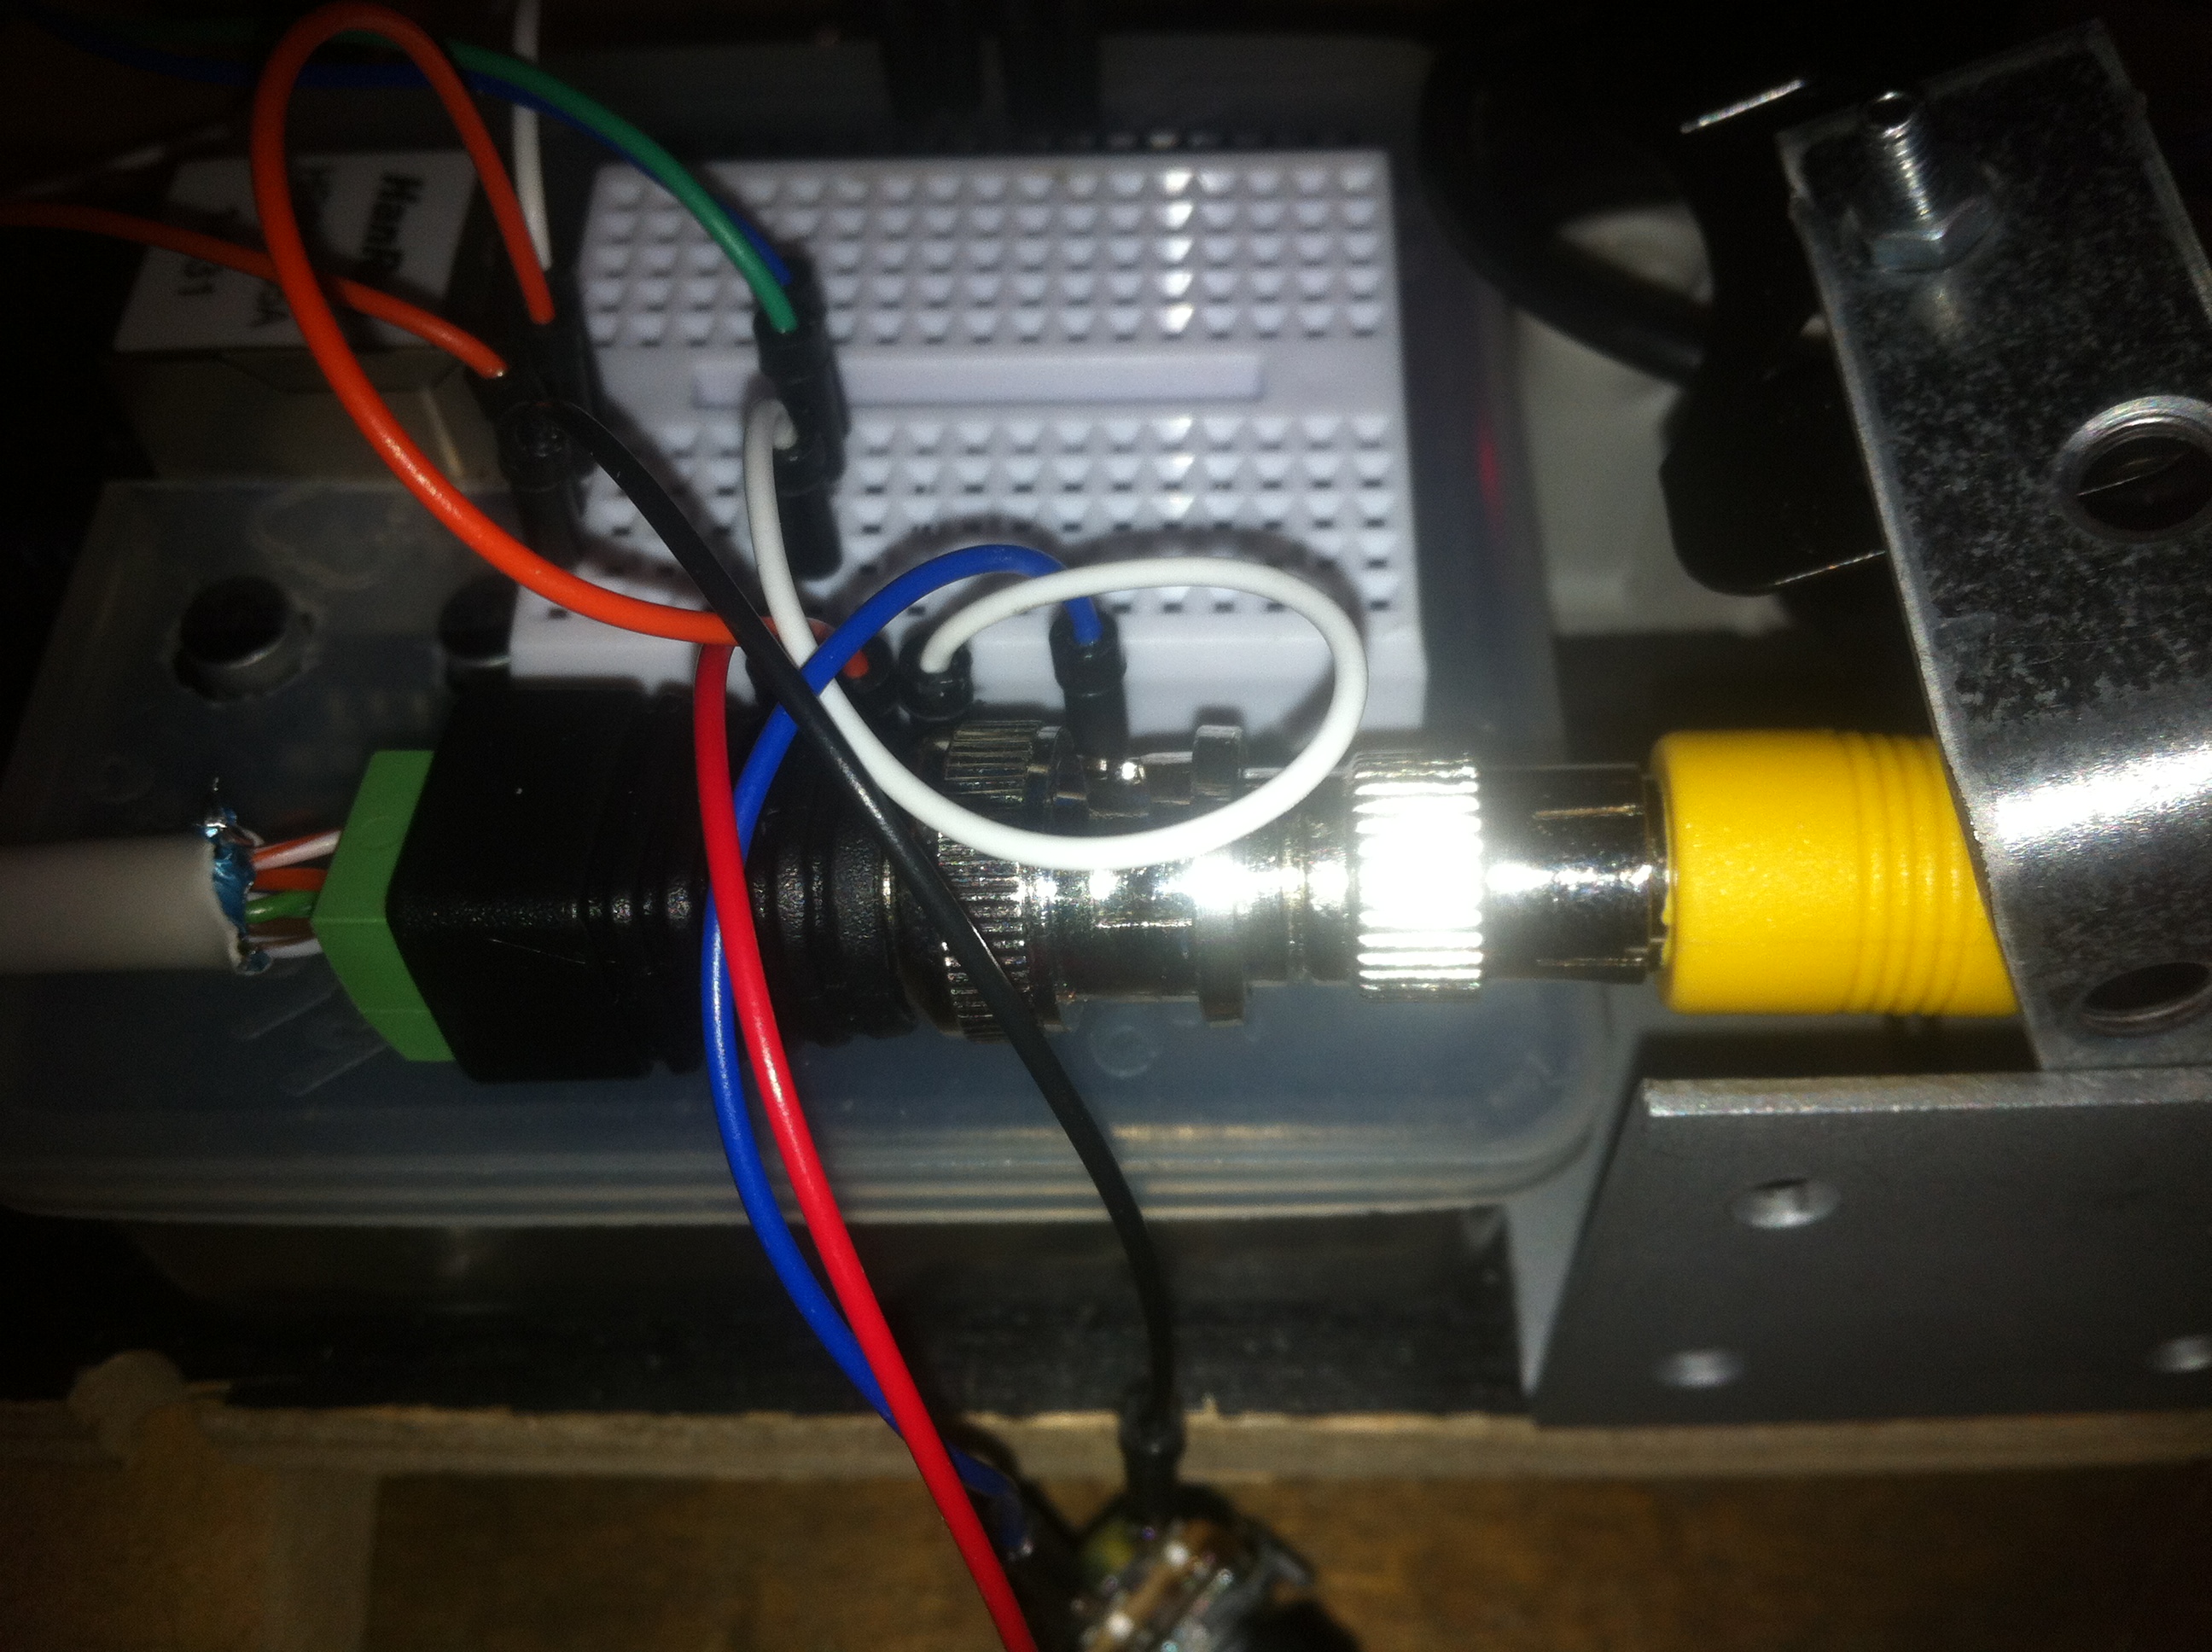
Servo servo1;    // with servo I mean brushless motor
Servo servo2;
Servo servo3;
Servo servo4;

int pos = 0;
byte mac[] = { 0xDE, 0xAD, 0xBE, 0xEF, 0xFE, 0xED };   //physical mac address
byte ip[] = { 192, 168, 2, 5 };                      // ip in lan (that’s what you need to use in your browser. (“192.168.2.5”)
byte gateway[] = { 192, 168, 1, 1 };                   // internet access via router
byte subnet[] = { 255, 255, 255, 0 };                  //subnet mask
EthernetServer server(80);                             //server port     
String readString;

void setup() {
 
    servo1.attach(9);    // My motors are attached to outputs 6, 7, 8 and 9
    servo2.attach(8);
    servo3.attach(7);
    servo4.attach(6);
  // Open serial communications and wait for port to open:
  Serial.begin(9600);
   while (!Serial) {
    ; // wait for serial port to connect. Needed for Leonardo only
  }
  pinMode(led, OUTPUT);

  // start the Ethernet connection and the server:
  Ethernet.begin(mac, ip, gateway, subnet);
  server.begin();
  Serial.print(“server is at “);
  Serial.println(Ethernet.localIP());
}

void loop() {
  // Create a client connection
  EthernetClient client = server.available();
  if (client) {
    while (client.connected()) {   
      if (client.available()) {
        char c = client.read();
     
        //read char by char HTTP request
        if (readString.length() < 100) {
          //store characters to string
          readString += c;
          //Serial.print(c);
         }

         //if HTTP request has ended
         if (c == ‘\n’) {          
           Serial.println(readString); //print to serial monitor for debuging
   
           client.println(“HTTP/1.1 200 OK”); //send new page      //This is the HTML page i’m using for controlling the arduino
           client.println(“Content-Type: text/html”);
           client.println();     
           client.println(“<HTML>”);
           client.println(“<HEAD>”);
           client.println(“<TITLE></TITLE>”);
           client.println(“</HEAD>”);
           client.println(“<BODY>”);
           client.println(“<H1></H1>”);
           client.println(“<hr />”);
           client.println(“<br />”);  
           client.println(“<H2>Arduino with Ethernet Shield</H2>”);
           client.println(“<br />”);  
           client.println(“<a href=\”/?1500\”\”>1500</a><br />”);
           client.println(“<a href=\”/?1200\”\”>1200</a><br />”);
           client.println(“<a href=\”/?1000\”\”>1000</a><br /><br />”);
           client.println(“<a href=\”/?vooruit\”\”>kwart vooruit</a><br />”);
           client.println(“<a href=\”/?links\”\”>Links</a>”);
           client.println(“<a href=\”/?Rechts\”\”>Rechts</a>”);
           client.println(“<br />”);
           client.println(“</BODY>”);
           client.println(“</HTML>”);
     
           delay(1);
           //stopping client
           client.stop();
           //controls the Arduino if you press the buttons

           if (readString.indexOf(“?1500”) >0){
                { servo4.write(1500);              // tell servo to go to position
                  delay(15); }}                       // waits 15ms for the servo to reach the position
           if (readString.indexOf(“?1200”) >0){
                { servo4.write(1200); delay(15); }}
           if (readString.indexOf(“?1000”) >0){
                {servo4.write(1000); delay(15); }}           

           if (readString.indexOf(“?1500”) >0){
                { servo3.write(1500);              // tell servo to go to position
                  delay(15); }}                       // waits 15ms for the servo to reach the position
           if (readString.indexOf(“?1200”) >0){
                { servo3.write(1200); delay(15); }}
           if (readString.indexOf(“?1000”) >0){
                {servo3.write(1000); delay(15); }}  

           if (readString.indexOf(“?1500”) >0){
                { servo2.write(1500);              // tell servo to go to position
                  delay(15); }}                       // waits 15ms for the servo to reach the position
           if (readString.indexOf(“?1200”) >0){
                { servo2.write(1200); delay(15); }}
           if (readString.indexOf(“?1000”) >0){
                {servo2.write(1000); delay(15); }}           

           if (readString.indexOf(“?1500”) >0){
                { servo1.write(1500);              // tell servo to go to position
                  delay(15); }}                       // waits 15ms for the servo to reach the position
           if (readString.indexOf(“?1200”) >0){
                { servo1.write(1200); delay(15); }}
           if (readString.indexOf(“?1000”) >0){
                {servo1.write(1000); delay(15); }}   
 
 //besturen, vooruit, links en rechts
          //vooruit
          if (readString.indexOf(“?vooruit”) >0){     //Vooruit=forwards, I “connect the a href ‘vooruit’ to 2 actions, making motor 1 and 2 spin at 1200ms, 20% of their power
                { servo1.write(1200); delay(15); }}
          if (readString.indexOf(“?vooruit”) >0){
                {servo2.write(1200); delay(15); }}
    //Links      
          if (readString.indexOf(“?links”) >0){    //Links=Left, making motor 1 spin at 2000ms/100% and motor 2 1100ms/10%
                { servo1.write(2000); delay(15); }}
          if (readString.indexOf(“?links”) >0){
                {servo2.write(1100); delay(15); }}
   //Rechts
          if (readString.indexOf(“?Rechts”) >0){   //Rechts=Right, same as left but vica versa
                { servo1.write(1100); delay(15); }}
          if (readString.indexOf(“?Rechts”) >0){
                {servo2.write(2000); delay(15); }}
                
            //clearing string for next read
            readString=””;  
           
         }
       }
    }
}
}

ROV control page

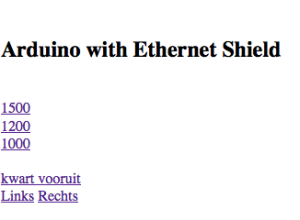
The HTML code in the Arduino make me see this page when I browse the IP-adres.

  • 1500 makes all my motors spin at 50%
  • 1200 spin at 20%
  • 100 stops them all
  • kwart vooruit, makes 2 of my motors sping at 20% (for forward thrust)
  • Links makes motor 1 spin at 100% and motor 2 at 20% (for turning)
  • Rechts the same but vica versa

Hope you can use this code, or if you have sugestions for me making it better, let me know!

greetz!

Update 2

Weeks after I made the motor spin with a pot-meter, I made such a progress, with understanding, programming and the design.

I now have

  • 5 Brushless motors (4 which I’m going to use for the ROV)
  • Arduino Uno
  • Ethernet shield
  • 9ah Battery
  • Camera (a front facing parking camera with some LED’s)
  • Video Baluns
  • PVC Housing

foto 3

Here you can see the the ‘inside” of my ROV, starting at the back: 4 ESC and 4 brushless motors with an power distribution, in the middle the battery will be placed and in the front of that the arduino, the ethernet shield stacked on top of it, with a breadboard. In the front I mounted the camera.

I’m going to use 3 of the 4 pairs from an Cat5 cable for communication with the Arduino and 1 pair for the camera.

arduino with camera

This is the housing im going to use (still need floaters)

PVC Housing

110mm*560mm PVC tube with a screw pod (don’t know if thats the right word :-P) in the back for entering the ROV.

I finally have everything kind of working the way I want it to.  In my next post I’ll post the source code.

greetz!

Update 1

Hey Everyone,

Here is my first update about my ROV. I started with a Arduino Uno and a brushless motor with a ESC (KV1100 brushless and 30A ESC), I hadn’t had a clue about what and how, so I just started with trial and error, which resulted in error because I burnt out my motor.

Back to reading and study while I waited for my new motor(s and ESC’s) to arrive. In the mean time I gave the design a try and tried to calculate the battery needed/wanted and orderd a servo, ethernet shield and some breadboards+cables.

I started with controlling the servo via a pot-meter, when that worked a brushless motor, which gave me some headache but eventually with some help of a colleague it worked!

This is the code I used for controlling the the motor with an pot-meter

#include <Servo.h>
Servo servo1;  // create servo object to control a servo (brushless motor)
int potpin1 = 0;  // analog pin used to connect the potentiometer
int val;    // variable to read the value from the analog pin

void setup()
{
  servo1.attach(6);  // attach the servo (brushless motor) to pin 6
}

void loop()
{
  val = analogRead(potpin1);            // reads the value of the potentiometer (value between 0 and 1023)
  val = map(val, 0, 1023, 1000, 2000);     // scale it to use it with the motor (value between 1000 and 2000)
  servo1.write(val);           // sends the scaled value to the motor to make it spin
  delay(15);                           // waits for the servo to get there
 }

Hello World

Welcome to my blog about building a ROV.

Via this blog I will keep you posted about building my ROV. 3 months ago I had the idea of building a ROV, but I had no clue how to it. The first month I started with doing research and came to the conclussion that it would be a project that would last at least 1 year/1,5 year. Now 3 months later I made so much progress, that most likely my ROV will get it’s first wet feet this spring!

In the next few posts I will write about the thursters, controll, programming and hull design.

greets, Jelle